

How to Install a New Dishwasher
About This Project
This guide provides comprehensive, step-by-step instructions for removing an old dishwasher and installing a new one, with a specific focus on the plumbing connections for the water supply and drain lines. The process involves shutting off utilities, disconnecting the old unit, preparing the new unit, making the new plumbing and electrical connections, and testing for leaks.
Best for experienced DIYers and homeowners with some experience with basic plumbing knowledge and familiarity with power tools. Requires Klein Tools Non Contact Voltage Tester Pen, 50 1000V AC (NCVT1PR) NCVT1PR.
Tools & Materials

Bucket
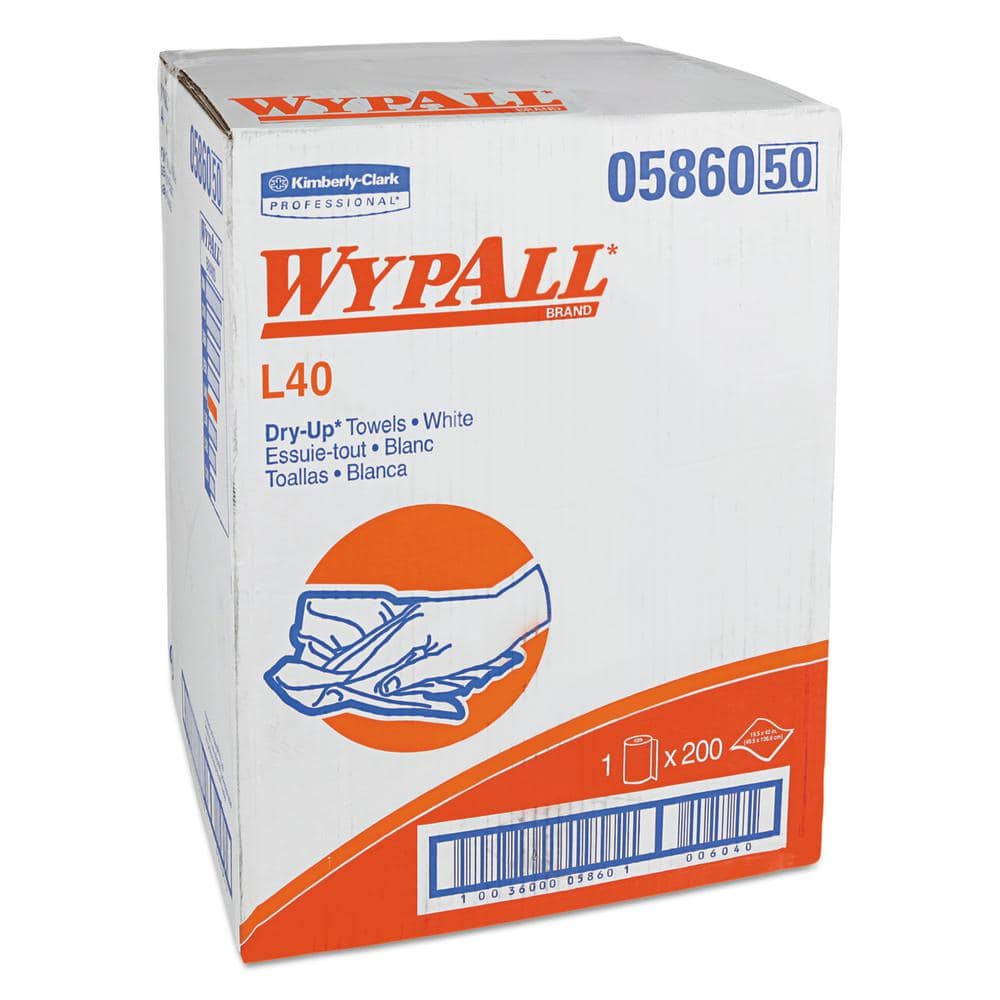
WYPALL L40 Towels, Dry Up Towels, 19-1/2 in. x 42 in., White, 200 Towels/Roll KCC05860
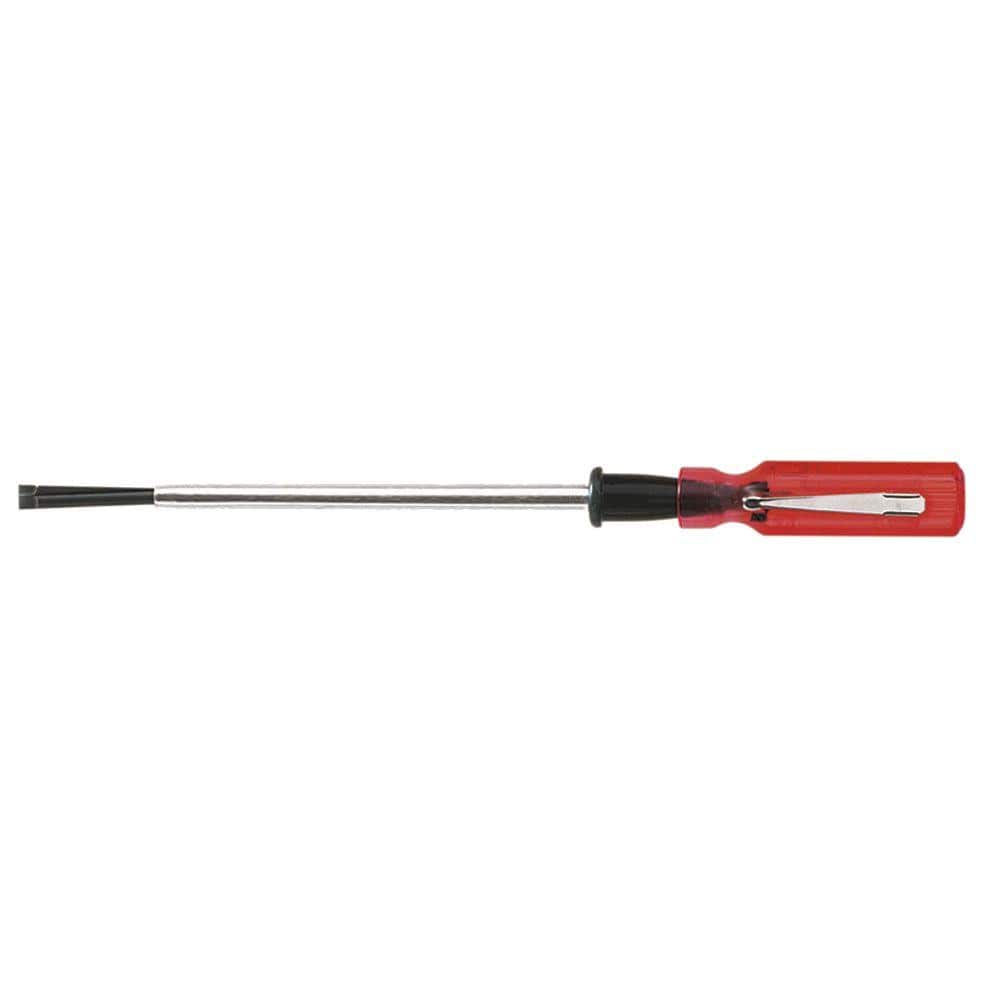
Klein Tools 3/16 in. Slotted Screw-Holding Flat Head Screwdriver with 8 in. Round Shank K28

Adjustable Wrench

Towel
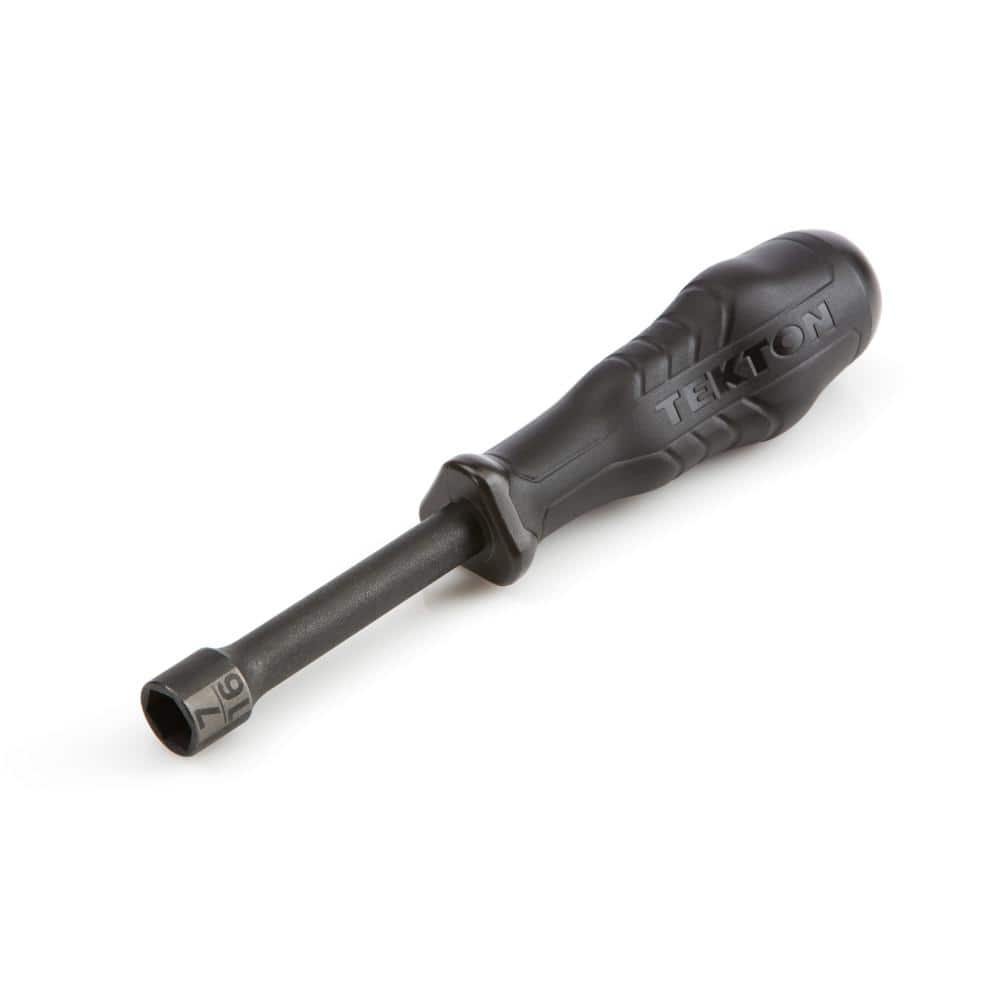
TEKTON 7/16 in. Nut Driver 26867
Bucket
Ideal for carrying or storing liquids.
WYPALL L40 Towels, Dry Up Towels, 19-1/2 in. x 42 in., White, 200 Towels/Roll KCC05860
WYPALL L40 Wipers are effective wipers that absorb liquids lightning-fast. These wipes are made of bonded cellulose using DRC (double re-creped) technology for strength, softness and absorbency. As a wiping cloth, it soaks up liquids fast, but all you'll feel is softness, thanks to a plush, touchable outer layer. In fact, it's a popular choice for patient wiping in healthcare industries, for bathing and patient drying. These utility wipes are specially designed to absorb liquids, lubricants and oils (in restaurants for wiping counters, in mechanic shops, industrial and commercial factories and more), yet they're soft enough for use on face and hands. Experience the difference in superior absorbency and cleaning at your home or office today. Towel/Wipe Type: Dry Wipes; Application: Bathrooms; Material(s): Cloth-Like; Number of Plies: 1.
Klein Tools 3/16 in. Slotted Screw-Holding Flat Head Screwdriver with 8 in. Round Shank K28
Getting that screw to stay put while you get it in place is much easier with Klein's Slotted Screw-Holding screwdriver. Positive gripping action holds, starts, and drives slotted screws in awkward, hard-to-reach
Adjustable Wrench
Fits various nut and bolt sizes with its adjustable jaw.
Towel
Absorbs moisture and dries surfaces.
TEKTON 7/16 in. Nut Driver 26867
One-of-a-Kind Handle: The patented handle design offers a versatile combination of torque and speed. Its three-sided geometry engages the structure of your hand, not just friction against your skin, to
Steps
Shut Off Water and Power
15 minsThe first and most critical step is to ensure your safety and prevent water damage. Locate the dedicated circuit breaker for the dishwasher in your home's electrical panel and switch it to the 'OFF' position. Next, locate the hot water shut-off valve under the kitchen sink, which supplies the dishwasher. This is typically a smaller valve branching off the main hot water line. Turn the handle clockwise until it is fully closed. To confirm the water is off, turn on the hot water at the kitchen faucet; it should slow to a trickle and stop. Place a bucket and some old towels under the sink and dishwasher area to catch any residual water from the lines.
Disconnect Old Dishwasher Plumbing and Electrical
30 minsWith the utilities off, begin disconnecting the old unit. Under the sink, locate the dishwasher's drain hose, which is typically a flexible, ribbed hose connected to a nipple on the garbage disposal or a sink drain wye-fitting. Use a flat-head screwdriver or nut driver to loosen the hose clamp and pull the hose off the nipple. Be prepared for water to spill out. Next, find the water supply line connection at the shut-off valve. Use an adjustable wrench to loosen and disconnect the supply line. Finally, remove the cover plate at the bottom front of the dishwasher to access the electrical junction box. Use a screwdriver to remove the box cover, and a non-contact voltage tester to TRIPLE-CHECK for power. Disconnect the wire nuts holding the black, white, and copper ground wires.
Prepare New Dishwasher for Installation
30 minsCarefully unbox the new dishwasher, making sure to remove all packing materials from the exterior and interior. Lay a piece of cardboard or a blanket on the floor and gently tip the dishwasher onto its back. This provides access to the underside where the plumbing connections are made. Locate the water inlet valve; it's usually a brass or plastic fitting near the front. Tightly wrap the threads of a new 3/8-inch 90-degree brass elbow with Teflon tape, wrapping 3-4 times in a clockwise direction. Screw this elbow into the dishwasher's water inlet valve and tighten it with an adjustable wrench, ensuring the opening faces the rear of the unit where the supply line will come from. Do not overtighten. Next, attach the new drain hose to the dishwasher's drain pump outlet, securing it with the provided spring or screw clamp.
Connect Water Supply Line
25 minsCarefully slide the new dishwasher partially into the cabinet opening. As you slide it in, feed the water supply line, the drain hose, and the electrical cable through the hole in the side of the cabinet leading to the sink base. Once the lines are through, connect the new braided steel water supply line. First, attach the end with the 90-degree fitting to the brass elbow you installed on the dishwasher. Hand-tighten this connection. Next, connect the other end of the supply line to the hot water shut-off valve under the sink. Hand-tighten this connection as well. Once both ends are hand-tight, use two adjustable wrenches—one to hold the valve or dishwasher elbow steady and one to tighten the compression nut—and give each connection a final quarter-turn. This two-wrench technique prevents stress on the pipes and fittings.
Connect Drain Hose with High Loop
20 minsRoute the new drain hose from the dishwasher to the connection point under the sink. To prevent dirty water from the sink backing up into the dishwasher, you must create a 'high loop'. Pull the drain hose up as high as it will go under the countertop and secure it to the underside of the countertop or the top of the cabinet wall with a strap or zip tie. From this high point, loop the hose back down and connect it to the garbage disposal's inlet nipple. Slide the hose clamp over the end of the hose, push the hose firmly onto the nipple, and tighten the clamp securely with a screwdriver. Tug on the hose to ensure it's firmly attached.
Position, Level, and Test for Leaks
30 minsAfter all plumbing and electrical connections are made, carefully slide the dishwasher the rest of the way into the cabinet. Adjust the leveling feet at the front and back of the unit by turning them with a wrench or pliers until the dishwasher is plumb and level both side-to-side and front-to-back. The top of the dishwasher door should be flush with the edge of the countertop. Once level, open the door and drive the provided installation screws through the mounting brackets on the top or sides of the dishwasher frame into the underside of the countertop or the side cabinets. Finally, slowly turn the water shut-off valve back on (counter-clockwise). Immediately inspect the connections at the valve and at the dishwasher's inlet elbow for any signs of dripping. Use a flashlight and a dry paper towel to wipe the fittings, which will make even the smallest leak apparent. Turn the circuit breaker back on, start a short 'rinse' cycle on the dishwasher, and check both the supply line and the drain line connections for leaks while the machine fills and drains.
Common Problems
Plastic slip nuts crack if overtightened during dishwasher installation.
Solution: Hand-tighten the plastic slip nuts first, then give them a final quarter-turn with pliers if needed. Over-tightening can crack the nuts.
Dishwasher leaks due to cracked or loose plastic slip nuts.
Solution: Hand-tighten the plastic slip nuts first, then give them an extra quarter-turn with pliers if needed, but be careful not to overtighten and crack the plastic.
Dishwasher leaks behind cabinets due to unaddressed hose connection issues.
Solution: Run a short test cycle to check for any leaks at the hose connections before pushing the washer all the way back.
Leaking connections go unnoticed, causing water damage.
Solution: Running your dry hand over the connections is an effective way to feel for small drips that might not be easily visible.
Ensure the hose clamp is tight enough to prevent leaks but not so tight that it damages the hose or fitting.
Solution: To avoid this issue: Be mindful of this warning and take appropriate precautions.
Do not overtighten the clamp, as it can crack the plastic fitting or the hose itself.
Solution: To avoid this issue: Be mindful of this warning and take appropriate precautions.
Difficulty turning the stiff water supply valve may prevent proper dishwasher hookup.
Solution: The water line is usually connected to the hot water pipe. The valve may be stiff if it hasn't been turned in a while.
Frequently Asked Questions
Do I really need all the specific tools listed, or can I get by with a basic toolkit?
While a basic toolkit with screwdrivers and an adjustable wrench will cover most steps, specific tools like a screw-holding flat-head screwdriver or good linesman's pliers can make the job significantly easier, especially in tight spaces. A level is absolutely essential for proper dishwasher operation.
What's the most important safety step before starting this project, and why?
The most critical safety step is to completely shut off both the water supply and electrical power to the old dishwasher. Failing to do so can lead to serious risks such as electrocution, severe water damage from uncontrolled leaks, or injury during disconnection.
The project is rated 'beginner' and estimated at '5 hours.' Is that realistic if I've never installed a dishwasher before?
The 5-hour estimate is often for someone with some DIY experience. As a beginner, it's wise to budget at least 6-8 hours, or even a full day, to account for unexpected issues, careful reading of instructions, and double-checking your work. The difficulty is moderate due to precise plumbing and electrical connections.
What's the most common mistake people make during dishwasher installation, especially regarding plumbing?
The most common mistake is improper sealing or overtightening of water supply and drain connections, leading to leaks. Always use new supply lines and fittings, ensure Teflon tape or pipe dope is applied correctly on threaded connections, and avoid overtightening plastic components which can crack.
Why is the 'high loop' for the drain hose so important, and what happens if I skip it?
The high loop prevents dirty water from your sink drain or garbage disposal from flowing back into your clean dishwasher (back-siphoning). It also prevents continuous draining of water from the dishwasher during operation. Skipping it can lead to unsanitary dishes and potential damage to the dishwasher pump.
The guide mentions specific new materials for the water supply and drain lines. Can I reuse my old ones to save money?
It is strongly recommended not to reuse old water supply lines or drain hoses. Old lines can be brittle, corroded, or develop microscopic cracks, leading to leaks and potential water damage. New, flexible braided stainless steel supply lines and a new corrugated drain hose provide reliable and long-lasting connections.
After installation, how do I thoroughly check for leaks before pushing the dishwasher all the way back into place?
Before pushing the dishwasher in, turn on the water supply and run a short wash cycle, or at least let the dishwasher fill with water. Use a flashlight and a dry towel to carefully inspect all connections under the sink (water supply, drain, air gap if applicable) for any drips or moisture. Allow it to run for several minutes, checking periodically, before securing it.